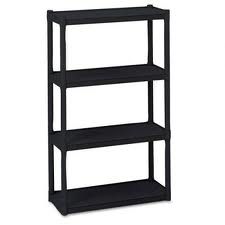
Well I got the plant incubator done this past weekend, it turned out pretty good for a thrown together idea. Here is what I started with.This is a picture of a three shelf set, what I ended up using was a four shelf set as the three shelf one had curved shelves in the front and would have caused some major modifications to the Styrofoam.
I cut the Styrofoam to fit the back of the shelves then the sides, all were attached to the shelves with duct tape. In future designs I intend to come up with a more permanent solution possibly using screws and washers. But for now this will work. I cut another sheet to make the door and used about a half a roll of tape to hinge the thing. Again in the future I intend to frame out the door so I can hing it properly. But for now it will serve it's purpose for this season's garden.
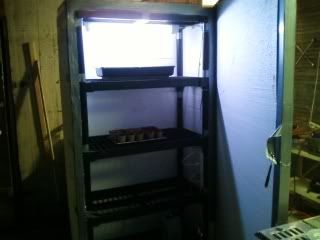
It is just latched by two doubled pieces of tape with small screwdrivers jammed into the side for now, again, another design for closing it is rolling around in my head. The light is a grow light from Wal-Mart that cost around ten dollars, there is an outlet bar zip tied to one side that it plugs into. This weekend i am going to add another light for the second shelf. At the moment I don't have the light on as the seeds are not up yet.
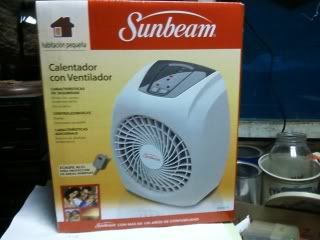
we bought this little heater at Wally World for about seventeen bucks, it is wonderful as it has a thermostatic setup on it where you can set it for 65, 70, 75, or 80 degrees. I have it set for 70 degrees and when you open the door you get blasted with a wave of heat. This Incubator works great! The light and the wires from it as well as the heater are all zip tied in place.
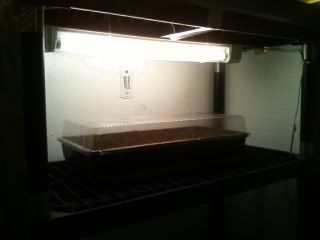
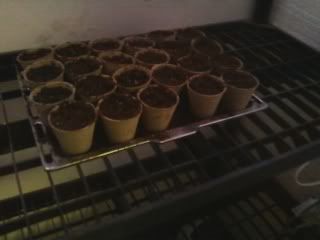
This is the first tray of seeds that I put in it. You can see the .99 cent thermometer on the back wall, also from wally World. I have about 6 varieties of Tomato's, about five Varieties of Peppers, some Cabbage, Broccoli and Brussel Sprouts and God know what else started in this one.
More seeds started here. I later had to put some plastic over this one as the heater was sucking up all the moisture. there is some types of Romain started in here and some Squash as well.
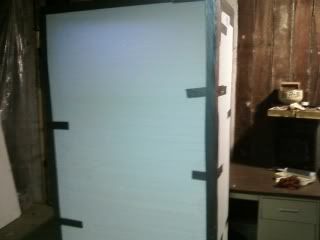
Here it is all sealed up. I cut a vent in the bottom of the left side, it is about a three inch by three inch square, there is another one on the same side up top. It vents very well, the heater works great. I need to add one thing next weekend, I need to put a piece of plywood on half the shelf over the heater to protect it from any moisture dripping from the plants after they are up. I'll show you a better view of that after next weekend. It may be rudimentary but it works like a charm.
Wow! I hope that works well for you, I would be interested to see how your seedlings like it.
ReplyDelete